Resolving Neff oven E6200 error
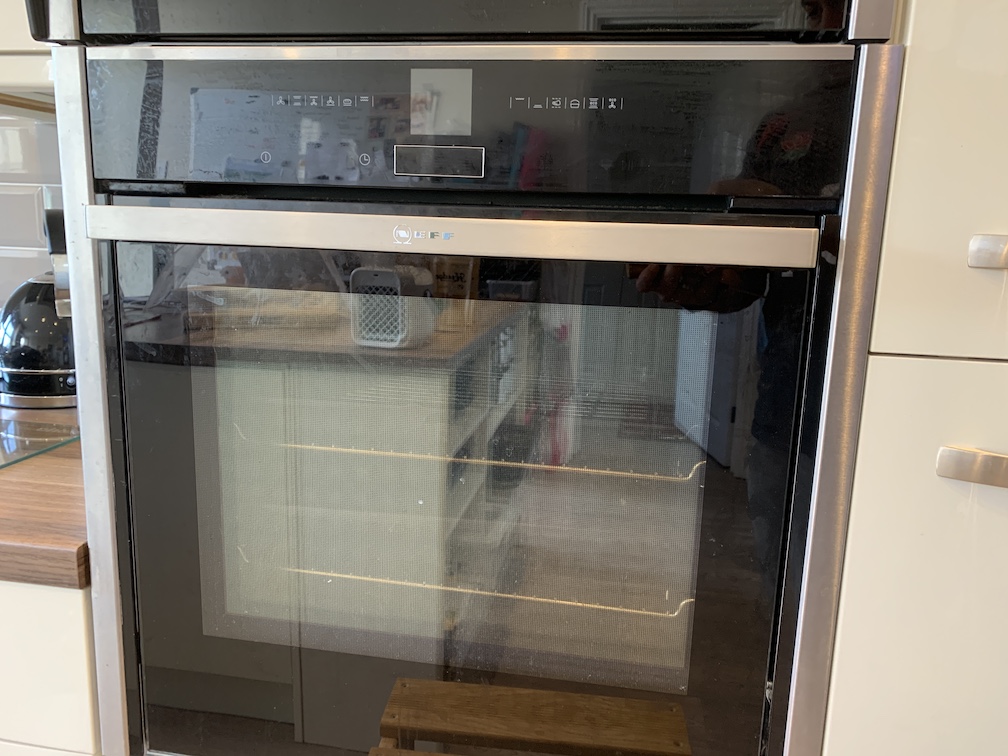
It’s a Neff (aka Bosch) double oven with a slide-hide-door. Not sure of the exact model, but it looks like this.
About a year ago, it stopped working - on the CircoTherm setting only. All other heating modes were fine, and it would randomly occur sometime after switching it on but usually around 10 minutes. It would stop with some beeping and an error code - E6200 - on the screen.
Usual Googling turned up very little. You would think a fault code would be written down somewhere and exist - but there was nothing specific for this. In fact, all I found was this post on UK White Goods and this on Just Answer.
There was no slam-dunk solution but the first thing I tried was to replace the blower motor. The Neff spare parts finder website is really good (just put various serial numbers in, in this case found under the door) and find what you need. Delivery was rapid and reasonable and I had to speak to their customer service on a couple of things which were very helpful too. The motor arrived within a few days and for some reason I felt sure I could install it myself. And actually it was relatively straight-forward. More surprising was not only that (a) the oven continued to work but also (b) the problem was resolved! Yay.
Fast forward to the present-ish and the horror - the beeping and error code is back. Over-confident from the previous repair, I assumed the new motor had failed, merrily ordered a new one, and set about installing it. But unfortunately second-time-unlucky - the new motor didn’t resolve it. A bit more Google only returned the previous results and even less clue - but all signs now pointed to it being the control board (that being the only other part that was mentioned in any of the forums.)
Another trip to the spare parts website and, well, took the oven apart for the third time and -fortunately- this has, this time, resolved it. Who knows if something else will go pop in the future. (But there’s not a lot else I can replace!)
I’ve put this post up because it is relatively straight-forward to do for anyone who is reasonably handy with a toolkit. I did it myself the first time because the local agent was quoting 6 weeks to fit in (middle of lockdown etc). I nearly asked them to do the control board, but even this was pretty simple.
So here are the steps I took. Obviously this is for my specific oven, so your mileage may vary.
But first here is the statutory disclaimer: I am not an electrician, or qualifed technician or repair person or anything like that. So you do this entirely at your own risk! If you’re confident enough you can probably save yourself a call-out fee and whatever margin they add to the components; although this wasn’t the main reason for me - remember that if you explode your oven / house then you will have no comeback.
Tools:
Pretty much everything is held in with the same-size Torx screw - I think it’s a T3.
You’ll need a flat-head to engage the door lock.
10mm/12mm ratchet / spanner if you’re doing the blower motor.
Steps:
- Use whatever isolator / switch you have to fully turn off the oven at the wall. Wait for the screen to turn off and then leave the appliance for at least another 20mins (to allow any charge in the boards to disperse.)
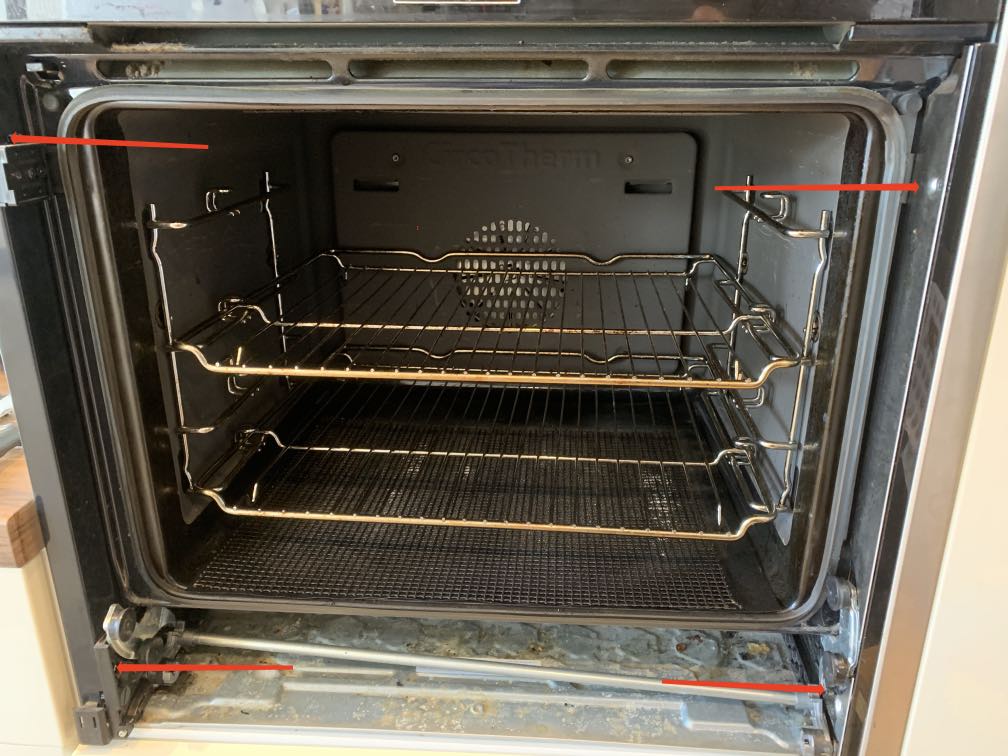
- Watch this video to remove the slide and hide door. I’m not sure if it’s entirely necessary, but it made removing the trim easier and I didn’t really want it getting in the way. Make sure you do the bit about the locking pins on the side; if the slidey mechanism comes off the runners it is a bit of a ballache to get it back. I didn’t on the first time and learnt my lesson by the second time. Then somehow cocked it up on the third.
- Trim is held in 2 places on each side. (You can also see how I fekked the runner in the bottom right corner.)
-
The trim reveals two additional screws in the front which in my case hold the oven in to the kitchen carcass. Remove them.
-
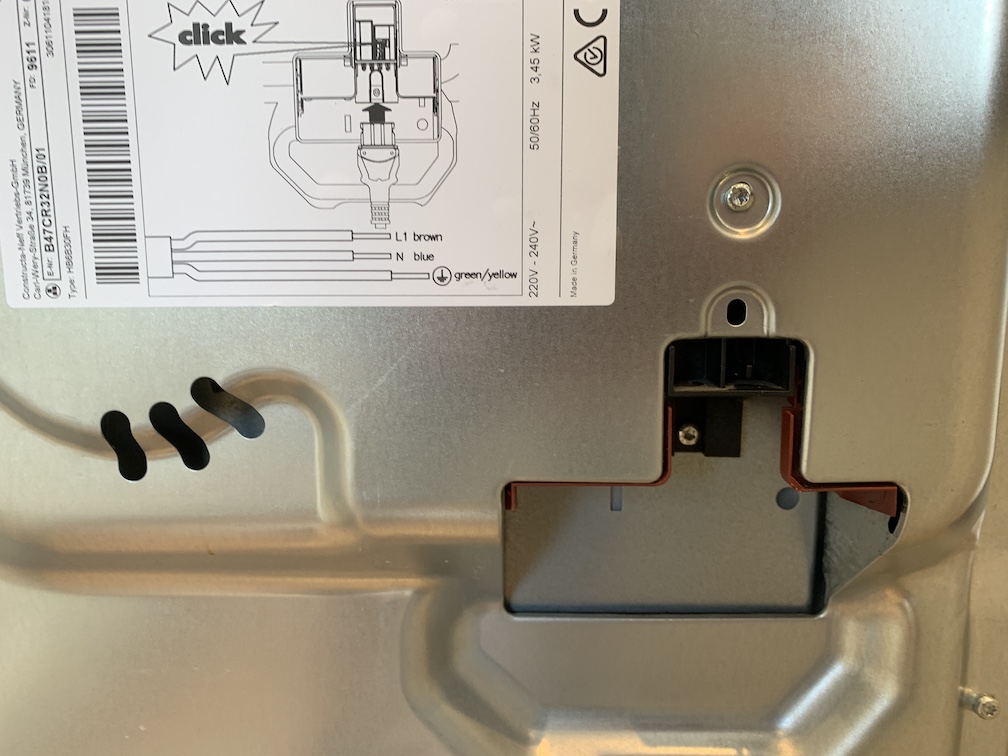
You can then slide the oven out and turn it out around. You will need something for it to sit on. Remove the power cable from the back by sliding the little latch over. Remove that screw out as well. (Note: this screw is slightly different than all the others that you will remove.)
-
The rear panel is in two pieces. Top and back. You should be able to figure out which screws to remove but it’s not all of the ones you can see! The back is held in to the frame with some bent pins. Apparently I forgot to photo this bit but there were three from the top sides, two at the top on the back, then another couple or so down each side.
-
The top will slide off and then the back. Revealing all the gubbins in the back.
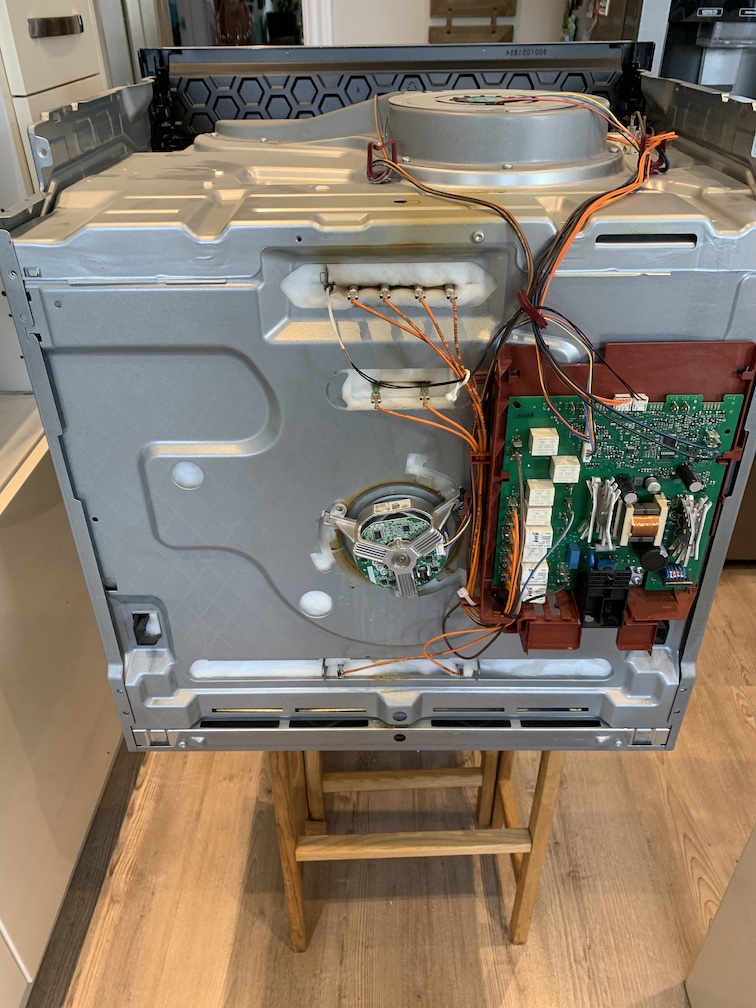
The blower motor is the circular one in the middle on the back. If you’re replacing that, then you will need to go to the front of the oven, remove the shelves etc. and then at the back you will find a panel, held in place by 4 screws (can see it in the earlier photo). Removing this will reveal the blade on the motor.
This can be removed using the spanner/ratchet. It’s screwed in reverse. i.e., lefty- tighty, righty-loosey. Hold the blade and turn the nut on the front clockwise.
Around the back, on the motor, trace the cables back to control board and unclick, gently. The motor itself is not screwed in place on the back of the oven… to remove it, turn the whole mechanism anti-clockwise; it will then line up with the grooves so you can remove it.
Re-installation is the opposite of removal. Make sure the connector is reconnected securely.
Control Board
The control board isn’t much more complicated than the motor. It is held in place by 3 screws - one on the black plastic and two on a metal bracket; the red plastic caddy provides the bulk of the support.
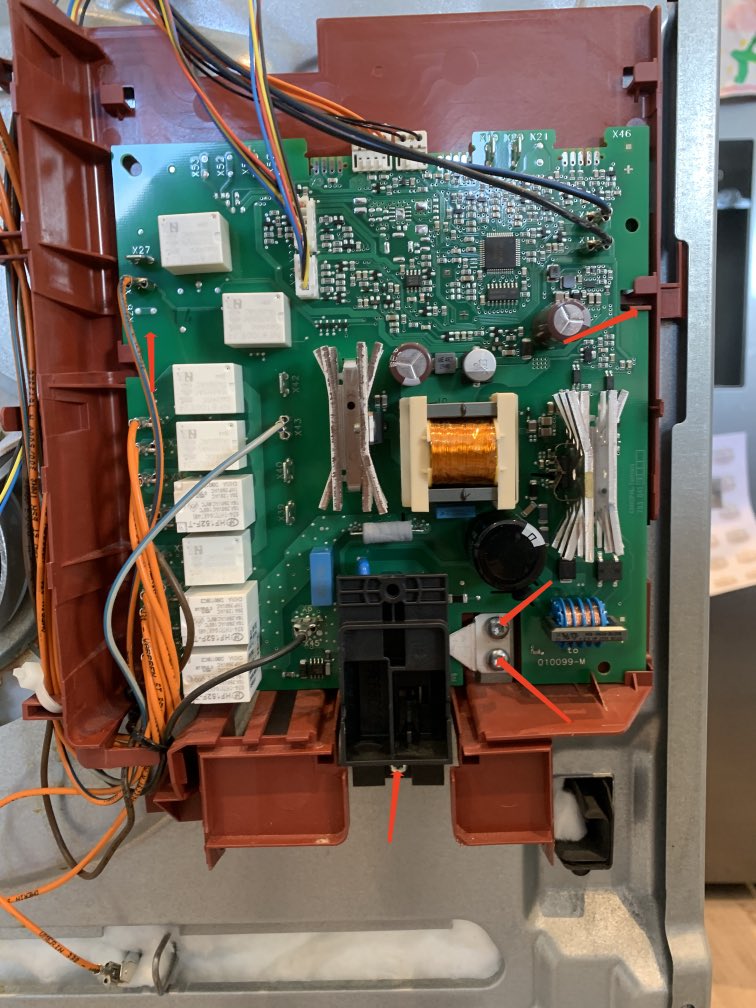
With the screws removed, one of the red plastic tabs on the right hand side can be pushed in / backwards, which allows the board to move out (towards you), and then upwards. It will then slide out (towards you) out of the red caddy.
The trickiest bit by far is making sure you connect everything in the right places and order. I took photos on the offchance I had to check. In the end I opted to do a one-for-one transplant - i.e., disconnect one and immediately connect it to the correct place on the new board. This got a bit fiddly in the end, esp. with the orange ones on the side but did work.
Also on that side, take note of where the middle ones go - one is brown and there is one extra/empty slot which can catch you out.
With all cables in place, insert the board and screw it down, and then put everything else back as you found it. Don’t forget to plug it in and hope as you turn on the isolator!
Hope this helps someone. Please comment below if this works / didn’t work for you.